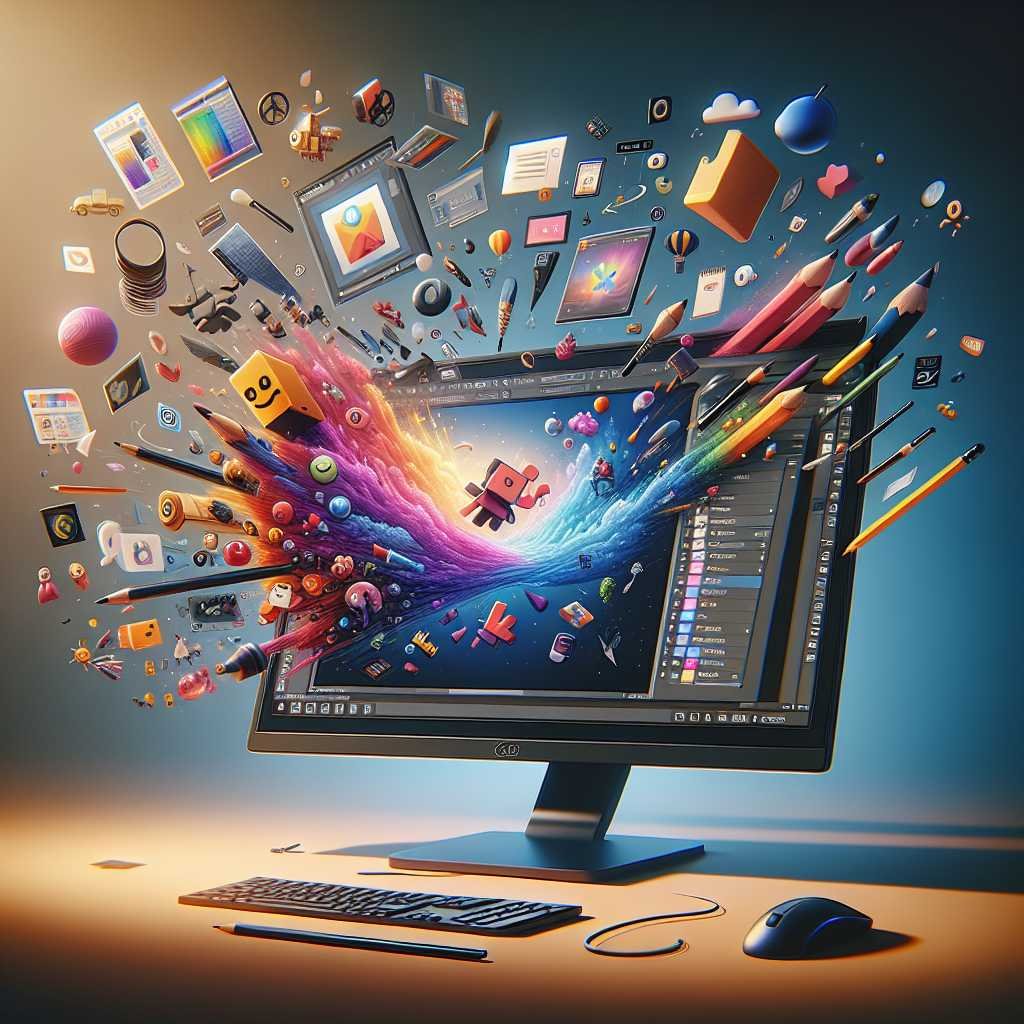
PixiEditor 2.0: The Universal 2D Graphics Editor You’ll Actually Want to Use
What if you could sketch, paint, lay down vectors, and animate—all in one place—without jumping across apps? That’s the promise of PixiEditor 2.0. It blends pixel art precision, smooth digital painting, and true vector tools on a single canvas. Then it adds a timeline for animation and a node-based engine underneath to keep everything flexible and non-destructive.
If you’ve ever wished for a “do-it-all” 2D editor that doesn’t feel bloated or confusing, this might be the one. In this guide, I’ll break down what makes PixiEditor different, where it shines for real projects, and how to get the most out of it—even if you’re coming from Aseprite, Photoshop, Krita, or Inkscape.
Let’s dive in.
What Is PixiEditor 2.0?
PixiEditor 2.0 is a universal 2D editor designed for creators who want a single, familiar interface for all their 2D needs. Out of the box, it offers three purpose-built toolsets:
- Pixel Art: Tools tuned for crisp, pixel-perfect control
- Painting: Brushes, anti-aliased shapes, and essential painterly tools
- Vector: Paths and shapes for resolution-independent graphics
You can use every toolset on the same canvas. That means you can mix vector shapes with raster brushwork and pixel-precise edits—without friction. When you’re done, export to PNG, JPG, SVG, GIF, MP4, and more.
The 2.0 release also introduces a timeline and animation capabilities. You can animate frame-by-frame, or go procedural with nodes and custom shaders. Keyframe animation for vector layers is on the roadmap.
Under the hood, everything is powered by a node-based system. Layers, effects, and even the layer structure are nodes or node outputs. PixiEditor exposes the entire node graph, so you can build your own pipelines and generate procedural art or animations with surprising ease.
Who PixiEditor Is For
If you’re a…
- Game developer: Create sprites, tilesets, UI elements, and export animations.
- Illustrator: Mix vector icons with textured brushwork and export sharp assets.
- Animator: Build loops and short sequences with a timeline and procedural effects.
- Indie dev or hobbyist: Keep your workflow simple by consolidating tools.
- Designer: Create logos, motion graphics, and export clean SVGs and MP4s.
…PixiEditor’s unified approach can save time and reduce context switching. It’s also ideal if you want non-destructive control and procedural options without moving into full 3D software.
Key Highlights at a Glance
- Three dedicated toolsets: Pixel Art, Painting, Vector
- Mix vector and raster on the same canvas
- Node-based engine for layers, effects, and compositing
- Timeline for animation: frame-by-frame or node-driven
- Export to PNG, JPG, SVG, GIF, MP4, and more
- Open and extensible mindset: build from source, contribute, and customize
Here’s why that matters: You get flexibility without the typical “Frankenstein workflow” of juggling multiple apps and formats. Create once, then adapt, animate, and export in the format your project needs.
The Three Toolsets, Explained
Pixel Art Tools: Built for Crisp, Clean Sprites
Pixel-perfect drawing is unforgiving. One off-by-one stroke can break a sprite. PixiEditor’s pixel art toolset is tuned for this. Expect precise lines, clean fills, and control that respects the grid.
Use it to: – Draw sprites, tiles, and retro-style UI – Cleanly outline and shade without jagged edges – Combine pixel assets with vectors or paint layers on the same canvas
Curious what makes pixel art unique? This quick primer on pixel art explains the fundamentals.
Painting Tools: Brushes, Soft Edges, and Anti-Aliased Shapes
For illustration and concept work, the Painting toolset brings comfort and nuance: – Soft and hard brushes for shading and texture – Anti-aliased shapes for clean, smooth forms – Familiar layer-based painting that plays well with nodes and effects
You get the fluidity of a painting app with the safety of non-destructive tweaks later in the process.
Vector Tools: Shapes and Paths for Resolution-Independence
Vector layers let you work with shapes and paths that stay sharp at any size—ideal for logos, icons, and UI. Because vectors and raster live together in PixiEditor, you can: – Block out logos in vector, then add texture with brushes – Use precise vector shapes as masks for paint layers – Export crisp assets to SVG without leaving the app
If you’re new to the raster vs. vector debate, these quick guides help: – Raster graphics overview: Wikipedia – Vector graphics overview: Wikipedia
Mix Vector and Raster on One Canvas
Many editors push you to choose: vector or raster. PixiEditor lets you blend them. This hybrid setup is a big deal for modern teams where one file might need: – Vector icons over a textured background – Painted highlights on top of a shape-based logo – Pixel-precise details added to scalable frames
You don’t need workarounds or export-import hoops. Just work. Then export in the format your pipeline expects.
Animation in PixiEditor 2.0: Timeline Meets Nodes
Version 2.0 adds a timeline so you can animate inside your art file. You can: – Build frame-by-frame animations for sprites and loops – Use nodes to animate properties procedurally – Apply custom shaders and drive them with the node graph
If you’ve used node-based animation or compositing before, the mental model will click fast. If not, here’s a simple way to picture it: Imagine every effect, layer, and blend mode as a “box” with inputs and outputs. You connect those boxes to decide what feeds what—like a flowchart for your artwork.
For a broader look at node-based compositing, this overview is helpful: Node-based compositing. And if you’re curious about shader-driven effects, start here: Shader (definition).
Note: Keyframe animation for vector layers is on the roadmap. For now, you’ll animate vectors with the existing tools or turn to procedural approaches via nodes.
Why a Node Graph Changes the Way You Work
Nodes aren’t just for power users. They can make everyday tasks faster and safer.
Consider this mini-workflow: – You paint a character on a base layer. – You add a glow, a color grade, and a sharpen pass—each as separate nodes. – You connect these in order and keep the original painting untouched.
Now: – You can swap glow intensity without redoing the art. – You can reuse the same effect chain on another shot. – You can animate any parameter over time.
This non-destructive approach reduces “panic edits” and gives you room to experiment.
Export Formats That Fit Your Pipeline
PixiEditor supports exporting to PNG, JPG, SVG, GIF, and MP4 (and more). That covers most delivery needs: – PNG for lossless assets and UI (MDN on PNG) – JPG for photographic or compressed web images – SVG for resolution-independent icons and logos (MDN on SVG) – GIF for lightweight loops (MDN on GIF) – MP4 for videos, previews, and social posts (MDN on video codecs)
Pro tip: Export multiple formats for different teams—SVG for developers, PNG for QA, MP4 for stakeholders. One source file, several outputs.
Real-World Workflows: From Idea to Asset
Let’s make this practical. Here are four common workflows PixiEditor handles well.
1) Game Sprite with Looping Animation – Sketch the character with the Painting toolset. – Refine clean pixel edges with Pixel Art tools. – Animate a 12-frame idle loop on the timeline. – Add a subtle shader-driven glow via nodes. – Export a GIF for quick sharing and an MP4 for store page previews.
2) Logo Design with Texture – Build the logo with the Vector toolset for crisp curves. – Mask in subtle paint textures to add depth. – Use nodes to try different color grades without duplicating layers. – Export SVG for dev handoff and PNG for brand docs.
3) UI Icon Set – Create all icons in vector on one canvas. – Add a gentle shadow using a node-based effect so it’s consistent. – Export SVG for web/app use; export PNG at 1x, 2x, 3x for platforms that need raster.
4) Procedural Social Loop – Start with a simple shape and a gradient. – Animate the gradient and a noise-based displacement in the node graph. – Export MP4 for social posts; export GIF if needed for lightweight sharing.
Each workflow benefits from the hybrid canvas and node-based flexibility. You try more ideas because it’s safer to change your mind.
PixiEditor vs. Popular 2D Editors
There’s no one right tool for everyone. Here’s the high-level comparison to help you place PixiEditor in your stack:
- Aseprite: Brilliant for pixel art and sprite animation, but focused on that niche. Great companion, limited vector. Aseprite
- Krita: Powerful painter’s toolkit with animation. Less vector-centric than PixiEditor for mixed-media workflows. Krita
- Inkscape: Vector champion. Excellent for logos and icons, but raster painting and pixel art are not its focus. Inkscape
- Photoshop: Industry standard for raster editing with deep features. Vector support exists but isn’t its core; subscription model can be a factor. Adobe Photoshop
Where PixiEditor stands out: – Unified, creator-friendly approach to mixing pixel, paint, and vector – Built-in timeline plus nodes for procedural animation – Node graph exposed for each document (non-destructive by design)
If you spend time moving between multiple apps to finish a single asset, PixiEditor’s “all-in-one canvas” will feel refreshingly direct.
Performance, Usability, and the “Familiar” Feel
A helpful tool fades into the background. PixiEditor’s interface aims for that—familiar panels, accessible layers, intuitive tools. Why that matters: – Lower cognitive load: You think about the art, not the UI. – Faster onboarding: If you’ve used any mainstream editor, you’ll feel at home. – Better iteration: You try more variations when the path is obvious.
If you’re new to the space, this UX principle is backed by research: Familiar patterns reduce friction and help people focus on tasks that matter.
Building from Source, Contributing, and Getting Help
PixiEditor supports developers who want to build from source. There’s a compile guide to get you set up. If you’re new to contributing to open source, this primer is a great start: How to Contribute to Open Source.
- Building from source: Follow the project’s compile instructions.
- Contributing: Read the contribution guidelines and code of conduct.
- Help: If you’re stuck, use the dedicated help resources and community channels.
Collaboration isn’t an afterthought—it’s part of PixiEditor’s DNA.
Tips to Get the Most Out of PixiEditor
- Start with the right toolset: Choose Pixel Art, Painting, or Vector based on the task, then switch as needed.
- Name your layers like a pro: Clear names make the node graph easier to navigate.
- Think non-destructively: Use nodes for effects and adjustments. Keep original layers clean.
- Iterate in passes: Block shapes, refine details, then color-grade with nodes last.
- Animate intentionally: For frame-by-frame, rough timing first, polish second. For node-driven motion, test small segments.
- Export presets: Set up standard export formats and sizes for your project to save time.
- Keep versions: Duplicate the document or branch your node graph before major changes.
- Learn the formats: Know when to pick PNG vs. JPG vs. SVG vs. MP4 for your pipeline. Quick refreshers: PNG, SVG, GIF, MP4.
Limitations and Roadmap Notes
No tool is perfect. Here are a few expectations to set: – Vector keyframe animation is on the roadmap, not fully delivered yet. – If you rely on a deep library of third-party plugins from other ecosystems, audit your must-haves against PixiEditor’s native features and node options. – For highly specialized pipelines (e.g., TV broadcast or feature film compositing), you may still pair PixiEditor with niche tools.
That said, the core promise—unified 2D creation with serious export options—lands well right now.
Frequently Asked Questions (FAQ)
Q: Is PixiEditor good for pixel art? A: Yes. It includes a dedicated Pixel Art toolset focused on pixel-perfect control, clean lines, and precise fills. It’s well-suited for sprites, tiles, and retro UI.
Q: Can I animate in PixiEditor? A: Yes. PixiEditor 2.0 introduces a timeline for animation. You can do frame-by-frame sequences, or use the node graph to animate parameters and custom shaders.
Q: What does “node-based” mean here? A: Everything—layers, effects, and their relationships—runs through a node graph. You connect nodes to build your image and animations non-destructively, much like other node-based systems in compositing and 3D. More on the concept: Node-based compositing.
Q: Can I mix vector and raster in the same file? A: Absolutely. That’s one of PixiEditor’s key strengths. Use vector paths and shapes alongside painting and pixel art on the same canvas.
Q: What export formats are supported? A: You can export to PNG, JPG, SVG, GIF, MP4, and more. Use PNG for lossless assets, SVG for icons/logos, GIF for simple loops, and MP4 for video previews and social posts.
Q: Is PixiEditor open source? A: PixiEditor supports building from source and welcomes contributions. Check the official repository and documentation for details on licensing and contribution guidelines. If you’re new to open source, start here: How to Contribute to Open Source.
Q: How does PixiEditor compare to Aseprite, Krita, or Inkscape? A: Aseprite excels at pixel art; Krita is a painter’s powerhouse; Inkscape dominates vector work. PixiEditor’s edge is unifying pixel, paint, vector, and animation—with a node-based, non-destructive workflow—on one canvas. Explore peers: Aseprite, Krita, Inkscape.
Q: Does PixiEditor support custom shaders? A: Yes. You can use nodes to animate and control custom shader parameters for procedural effects.
Q: Where can I get help if I’m stuck? A: Use PixiEditor’s help resources and community channels. Look for documentation, discussion forums, or support links provided by the project.
Q: How do I build PixiEditor from source? A: Follow the project’s compile guide. Be sure to read any system requirements and setup notes before you start. If you plan to contribute, read the contribution guidelines first.
Final Takeaway
PixiEditor 2.0 is more than a checklist of features. It’s a practical, creator-first workspace that unifies pixel art, painting, vector design, and animation—then goes further with a node graph that keeps your work flexible and non-destructive. If you’ve been juggling three apps to finish one asset, this is your sign to simplify.
Actionable next step: Download PixiEditor from the official site or repository, open a new canvas, and try a small project—a looping sprite, an icon set, or a textured logo. You’ll feel the difference in the first hour. And if you want more tips like this, stick around—there’s a lot more to explore in this new wave of creator tools.
Discover more at InnoVirtuoso.com
I would love some feedback on my writing so if you have any, please don’t hesitate to leave a comment around here or in any platforms that is convenient for you.
For more on tech and other topics, explore InnoVirtuoso.com anytime. Subscribe to my newsletter and join our growing community—we’ll create something magical together. I promise, it’ll never be boring!
Stay updated with the latest news—subscribe to our newsletter today!
Thank you all—wishing you an amazing day ahead!
Read more related Articles at InnoVirtuoso
- How to Completely Turn Off Google AI on Your Android Phone
- The Best AI Jokes of the Month: February Edition
- Introducing SpoofDPI: Bypassing Deep Packet Inspection
- Getting Started with shadps4: Your Guide to the PlayStation 4 Emulator
- Sophos Pricing in 2025: A Guide to Intercept X Endpoint Protection
- The Essential Requirements for Augmented Reality: A Comprehensive Guide
- Harvard: A Legacy of Achievements and a Path Towards the Future
- Unlocking the Secrets of Prompt Engineering: 5 Must-Read Books That Will Revolutionize You