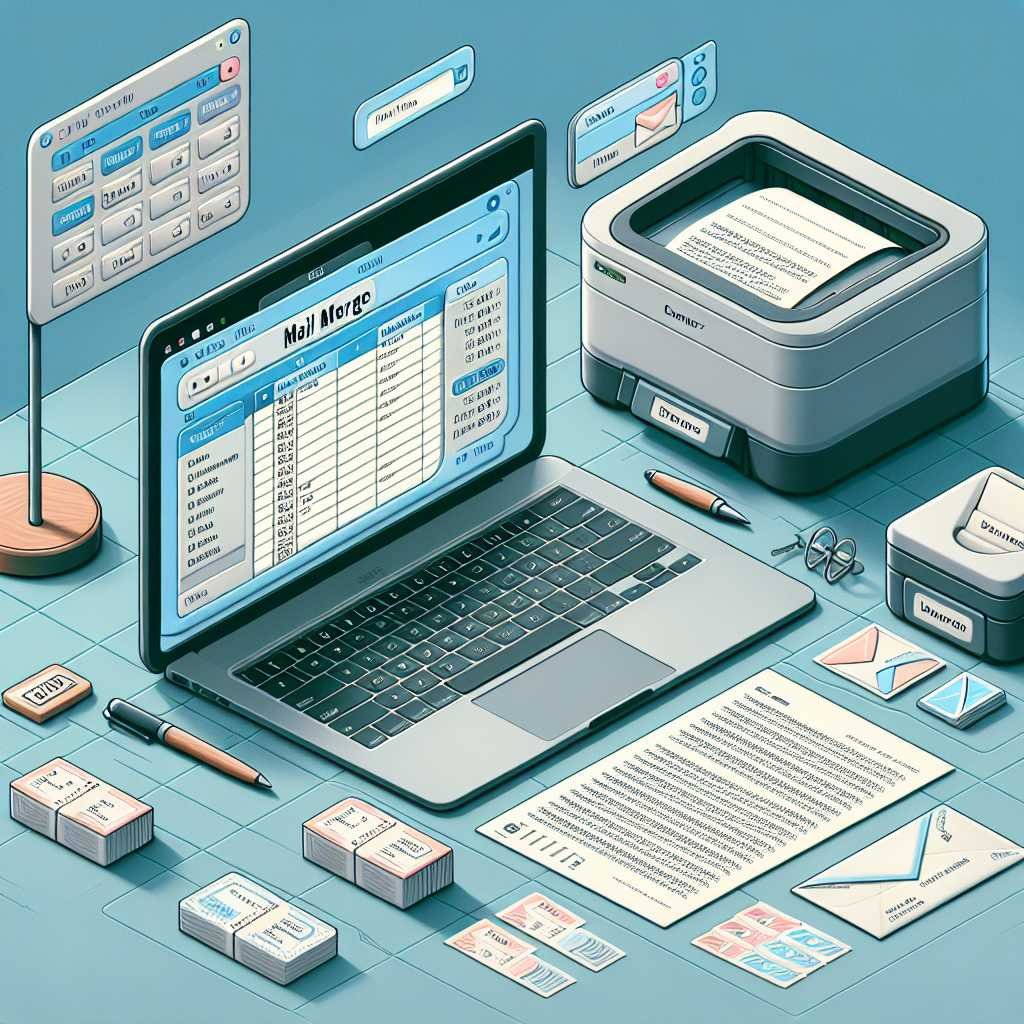
Microsoft Word 2021 Mail Merge Made Easy: Serial Letters, Labels, and Envelopes (Step-by-Step Guide)
If you’ve ever copied and pasted the same letter for dozens of contacts—or hand‑typed mailing labels until your wrists begged for mercy—you’re exactly who mail merge was built for. The magic of Microsoft Word 2021 is that it can pull names, addresses, and any other fields from a list and personalize each document in seconds.
And here’s the twist: Mail merge isn’t “advanced.” It’s systematic. Once you understand the pieces—your data (the list), your template (the letter, labels, or envelopes), and the merge fields (the placeholders)—it becomes a repeatable power move that saves hours. Let me show you the steps, the gotchas, and a few pro tricks you won’t find in basic tutorials.
What Is Mail Merge in Word 2021—and Why You Should Care
Mail merge is Word’s built‑in automation for creating many personalized outputs from one template. You write a single document, connect it to a data source (like Excel), and Word inserts each recipient’s details into the right place.
Where it shines: – Serial letters for donors, clients, or members – Address labels for holiday cards, events, or product shipments – Envelopes pre‑printed with addresses and return info – Emails personalized by name, company, or plan type
Here’s why that matters: personalized communication boosts response rates, looks professional, and reduces errors you’d make when copying and pasting. Word 2021 keeps the interface familiar and adds stability, especially with Excel data sources.
For a bird’s‑eye view of the feature set, Microsoft’s official overview is a good quick read: Use mail merge for bulk email, letters, labels, and envelopes.
The Fastest Way to Start: Build Your First Form Letter
Let’s walk through a simple serial letter, end‑to‑end.
1) Prepare your data (Excel works best) – Create a new Excel workbook. Put field names in Row 1—e.g., FirstName, LastName, Address1, City, State, PostalCode, Country, Salutation, Gender. – Put one record per row, with no blank rows or columns in the data block. – Format dates and numbers exactly how you want them to appear (you can also fix formatting later in Word using field switches—more on that soon). – Save the file before you connect it to Word.
2) Create the letter in Word – Open Word 2021 and draft your letter like normal. – Leave blanks where personalization will go (e.g., greeting, address block).
3) Connect to your data – Go to Mailings > Start Mail Merge > Letters. – Click Select Recipients > Use an Existing List and choose your Excel file. – Pick the correct worksheet; check “First row of data contains column headers.”
4) Insert merge fields – Click Insert Merge Field, then add fields where you want them: FirstName, LastName, etc. – For a greeting: “Dear «Salutation» «LastName»,” or “Dear «FirstName»,” depending on your data.
5) Preview and finish – Click Preview Results to cycle through records. – Spot-check a few recipients, then click Finish & Merge > Print Documents or > Edit Individual Documents to review.
Want a structured, screenshot‑rich walkthrough you can follow at your desk? Check it on Amazon.
Common setup mistakes to avoid
- Mixed data formats: don’t store ZIP codes as numbers if you need leading zeros (use text in Excel).
- Hidden spaces: trim extra spaces in names and addresses—Word merges exactly what’s there.
- Blank headers: every column should have a unique, non‑blank header.
Working With Data Sources Like a Pro
You can merge from many sources: – Excel (.xlsx) is ideal for most scenarios. – CSV (.csv) works, but watch out for special characters without proper encoding. – Outlook Contacts can be used for quick labels and envelopes. – Access databases or even Word tables are options for power users.
Smart data hygiene tips: – Keep field names short, clear, and consistent (e.g., FirstName, not First Name or first_name). – Make separate columns for Titles (e.g., Dr.), Gender, and Country if you need locale‑specific formats. – Normalize countries and states to standard codes if you need postal‑compliant labels.
Pro note: If Excel values look “wrong” when merged (e.g., 1.234E+05 or dates changing formats), you can control display with field switches in Word or change the connection method. Microsoft’s guide to mail merge with Excel is worth bookmarking: Use Excel data in mail merge in Word (desktop basics apply across platforms).
Labels and Envelopes in Word 2021
Labels and envelopes are just mail merge templates with a different layout.
For labels: – Go to Mailings > Start Mail Merge > Labels. – Choose your Label vendors (Avery, Herma, etc.) and Product number (printed on the label sheet box). – Click OK, then Update Labels to replicate your fields across the sheet. – Align fields carefully; small shifts can ruin a batch. Use a single‑line Address Block or individual fields for more control.
For envelopes: – Go to Mailings > Envelopes to set Return and Delivery addresses. – Click Add to Document to place the envelope layout above your letter. – If you want merged envelopes only, use Start Mail Merge > Envelopes and insert fields for Delivery Address and Return Address.
Ready to print perfect labels without trial and error? See price on Amazon.
Printing accuracy tips: – Always print a single test page on plain paper first and hold it against the label sheet to confirm alignment. – Disable “Fit to page” in the printer dialog; labels rely on exact dimensions. – If you mail in the U.S., verify format with USPS standards for maximum deliverability: USPS addressing guidelines (Publication 28).
Smart Personalization With IF…THEN Rules
Mail merge rules make your letters feel human. You can conditionally switch text based on your data:
- Gendered greetings
- If Gender = F: “Dear Ms. «LastName»”
- If Gender = M: “Dear Mr. «LastName»”
- Else: “Dear «FirstName» «LastName»”
- Country‑specific address lines
- Show “County” only for UK addresses.
- Optional fields
- Include “Line 2” only if it exists; otherwise skip the blank line.
You can do this using Mailings > Rules (If…Then…Else, Fill‑in, Merge Record #, etc.), or by inserting Field codes.
Examples you can adapt right away: – Salutation with fallback: – “Dear «FirstName»,” if FirstName is present; else “Hello,” – Gender‑aware: – If «Gender» = F, insert “Dear Ms. «LastName»,” else if M insert “Dear Mr. «LastName»,” else “Dear «FirstName»,”
Prefer a step‑by‑step workbook that covers these field switches with examples? View on Amazon.
Pro tip on line breaks: Use conditional fields to suppress empty lines (e.g., only add a manual line break when «Address2» is not empty). This prevents odd spacing in addresses.
Advanced Merge Tips That Save Hours
Once you’ve got the basics, these refinements will make your merges look polished and professional.
Formatting with field switches – Dates: Use \@ to format dates in Word regardless of Excel format. Example: { MERGEFIELD InvoiceDate \@ “MMMM d, yyyy” } – Numbers and currency: Use # to enforce decimals and separators. Example: { MERGEFIELD Amount # “$#,##0.00” } – Preserve capitalization: Apply Word’s Change Case (e.g., Capitalize Each Word) to a merge field if your data is all caps or all lowercase.
Connection methods – If your dates or numbers are misbehaving, try changing the connection from OLE DB to DDE (Word Options > Advanced > General > Confirm file format conversion on open, then re‑connect to Excel and choose DDE). Note: DDE has limitations on newer systems, so test with your environment.
Sorting, filtering, and de‑duping – Use Edit Recipient List to filter by criteria (e.g., City = “London”) or sort by LastName. – For simple de‑dupes, sort by email or postal code and uncheck duplicates in the list. – For complex de‑dupes, clean data in Excel first using functions like UNIQUE or pivot tables.
If you’d rather master this with curated exercises and checklists, Shop on Amazon.
Troubleshooting alignment for labels – If the last row drifts, your printer margins or label definition may be off by a millimeter; try a different Product number or adjust printable area in the printer driver. – Some inkjet printers shrink margins automatically; explicitly set 100% scaling.
Email Mail Merge With Outlook
Word 2021 can also send personalized emails via Outlook, perfect for newsletters, announcements, or confirmations.
Setup steps – Write your email in Word (keep layout simple; complex HTML can break in email clients). – Connect to your data source and insert fields where needed. – Ensure the data source has a valid Email column. – Go to Finish & Merge > Send E‑Mail Messages. – Subject line: type your subject; To: choose the Email field; Mail format: HTML for rich text.
Best practices – Keep images small and hosted (embedded images can increase size and trigger spam filters). – Send a small test batch to yourself and colleagues across different email providers. – Respect sending limits; consult your email provider or Microsoft 365 admin if you plan to send thousands of messages. Microsoft’s guide is a helpful reference: Use mail merge to send bulk email messages.
Compliance note: Always include a way to opt out for marketing emails and follow local regulations (e.g., CAN‑SPAM, GDPR).
Choosing the Right Word Version and Training Materials
Word 2021 (perpetual license) and the latest Microsoft 365 Word app both support robust mail merge features. If you collaborate in a business environment, Microsoft 365 gives you quicker access to updates; if you’re a home user or trainer with fixed needs, Word 2021 is stable and predictable.
Buying tips for learning resources – Prefer guides with lots of screenshots; mail merge is visual. – Look for coverage of labels, envelopes, and If…Then rules—not just letters. – Ensure exercises include real‑world data pitfalls (like missing fields, leading zeros, and date formats). – If you use a Kindle device with a small screen, dense screenshot guides are easier to read in the Kindle app on a PC or laptop; full‑color print editions are great for desk reference.
If you already own a comprehensive Word guide that includes mail merge (sometimes found in “Volume II” for advanced users and “Volume III” for professional editing), you may already have equivalent coverage—check the table of contents before buying a dedicated mail merge edition.
To grab the color print edition or the Kindle version optimized for larger screens, Buy on Amazon.
Troubleshooting: Quick Answers to Common Problems
- My ZIP codes lose leading zeros (e.g., 02138 becomes 2138)
- Store ZIP codes as text in Excel, not numbers; format the column as Text.
- In Word, use a number switch only when you need a particular format; avoid general numeric switches for ZIP fields.
- My dates look wrong after merging
- Add a date format switch in Word: { MERGEFIELD MyDate \@ “dd MMMM yyyy” } to force the final display.
- Alternatively, convert the date to a text string in Excel with TEXT(MyDate, “dd mmmm yyyy”).
- Labels don’t align on the last row
- Print a test on plain paper and align under a label sheet to see drift.
- Check printer scaling and margins; switch label product number if the definition doesn’t match your paper.
- Greeting line shows extra spaces or commas
- Carefully place punctuation outside the conditional logic; ensure fields like Address2 or Title only add spaces/commas when present.
- Word can’t connect to my Excel file
- Close Excel before connecting (Word can’t read open files in some configurations).
- Confirm you selected the correct sheet and that the first row contains headers.
For a step‑by‑step diagnosis flow, Microsoft’s help pages are thorough and regularly updated: Mail merge troubleshooting resources.
Pro Workflow: From Data to Delivery Without Stress
Here’s a clean process you can reuse for every project: 1) Build and clean your data in Excel (clear headers, consistent formats, no blanks). 2) Draft a plain‑language template in Word and mark personalization spots. 3) Connect and insert merge fields; keep Preview Results on while refining. 4) Add rules for personalized greetings and optional lines. 5) Test with 3–5 recipients to catch spacing and formatting issues. 6) Finish & Merge to a new document for a last proofread, then print or send.
Once you’ve run this workflow once or twice, you’ll feel the mental load drop—because the steps don’t change much from use case to use case.
FAQ: Microsoft Word 2021 Mail Merge
Q: What’s the best data source for mail merge—Excel, CSV, or Outlook?
A: Excel is the most flexible because you can clean and format data easily, keep leading zeros, and run formulas. CSV is fine for quick merges, but watch for special character encoding. Outlook Contacts works well for quick address labels if your contacts are already organized.
Q: Can Word 2021 do image mail merge (e.g., different photos per person)?
A: Yes, with the INCLUDEPICTURE field and a path to the image stored in your data source. It’s more advanced and requires careful setup, but it’s possible.
Q: How do I stop blank lines when Address2 is empty?
A: Use conditional logic to insert a line break only if the field has data, or use the “Rules” > “If…Then…Else” option to control spacing.
Q: Will my labels print correctly on any printer?
A: They should, but printers vary. Always test on plain paper first, ensure scaling is 100%, and use the exact label definition that matches your sheet. If you’re still off by a millimeter, try a different vendor product number that matches your paper size precisely.
Q: Is Word 2021 different from Microsoft 365 Word for mail merge?
A: The core features are very similar. Microsoft 365 may receive interface updates and bug fixes faster, but your mail merge skills transfer directly between the two.
Q: Can I send personalized PDFs to each recipient?
A: Word can generate personalized documents for each record; to create individual PDFs, Finish & Merge to “Edit Individual Documents,” then use a macro or a PDF tool to split and email. Some third‑party add‑ins streamline this.
Q: How many emails can I send via mail merge without getting blocked?
A: It depends on your mail provider and plan. Microsoft 365 and Exchange enforce sending limits; contact your admin or check provider limits before sending large batches to avoid throttling or blocking.
Q: How do I ensure international addresses format correctly?
A: Add country‑specific fields to your data (e.g., State/Province/Region), use conditional logic to include or omit fields by Country, and reference postal guidelines for your target countries. For U.S. mail, see USPS Publication 28.
Q: What’s the bottom line for getting mail merge right the first time?
A: Start with clean data, connect it to a simple template, preview often, and add rules only where they add real personalization—once you lock in that workflow, Word 2021 turns hours of repetitive work into a few clicks.
Discover more at InnoVirtuoso.com
I would love some feedback on my writing so if you have any, please don’t hesitate to leave a comment around here or in any platforms that is convenient for you.
For more on tech and other topics, explore InnoVirtuoso.com anytime. Subscribe to my newsletter and join our growing community—we’ll create something magical together. I promise, it’ll never be boring!
Stay updated with the latest news—subscribe to our newsletter today!
Thank you all—wishing you an amazing day ahead!
Read more related Articles at InnoVirtuoso
- How to Completely Turn Off Google AI on Your Android Phone
- The Best AI Jokes of the Month: February Edition
- Introducing SpoofDPI: Bypassing Deep Packet Inspection
- Getting Started with shadps4: Your Guide to the PlayStation 4 Emulator
- Sophos Pricing in 2025: A Guide to Intercept X Endpoint Protection
- The Essential Requirements for Augmented Reality: A Comprehensive Guide
- Harvard: A Legacy of Achievements and a Path Towards the Future
- Unlocking the Secrets of Prompt Engineering: 5 Must-Read Books That Will Revolutionize You